This simple windsock octopus is an easy preschool craft, perfect for ocean learning. Art is a wonderful springboard for so many types of learning. Hands-on activities, like this octopus, are so great for practicing important skills in preschool. In making this craft, children get practice with scissor skills, strengthen fine motor muscles as they squeeze the hole punch, add stickers, and cut to create their octopus. You can practice counting as you add the sucker stickers to each leg. Let your child use their imagination as they create a story about their octopus. Ask them questions about their creature.
This is just one of four ocean crafts that are included in my digital home preschool ocean theme unit. Are you ready to jump in and create? Let’s make one together!

Here is what you will need:
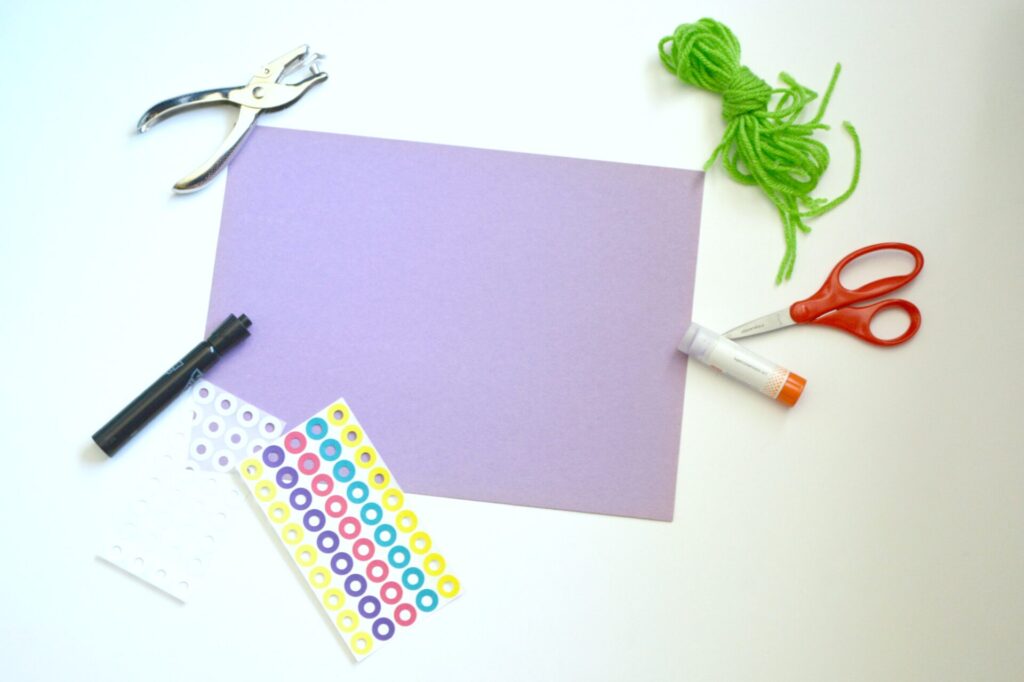
one piece of colored construction paper
scissors, glue (or stapler), hole punch, marker
yarn
hole punch reinforcement stickers
How to assemble your windsock octopus:
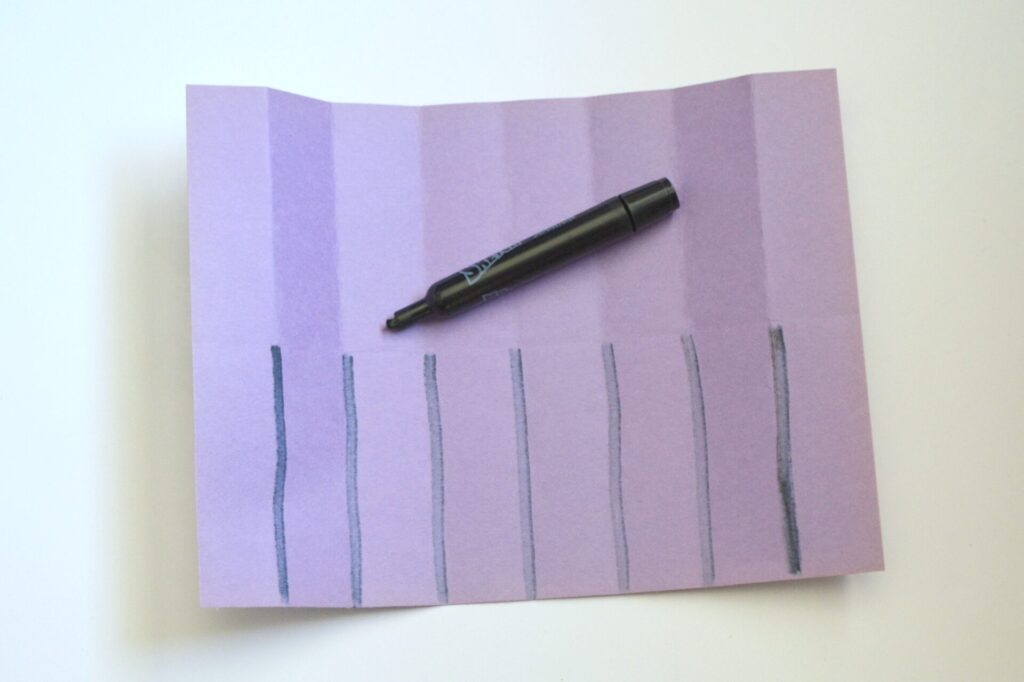
First, fold a piece of construction paper in half the short way. Fold in half again, then again so that you have 7 creases all running parallel to each other. Again, fold the paper in half, this time folding the long way. This perpendicular fold will help you to keep your lines even in the next step. Next, take a wide marker and mark from one edge of the paper to the middle crease onto each of your 8 parallel lines you folded in the beginning.
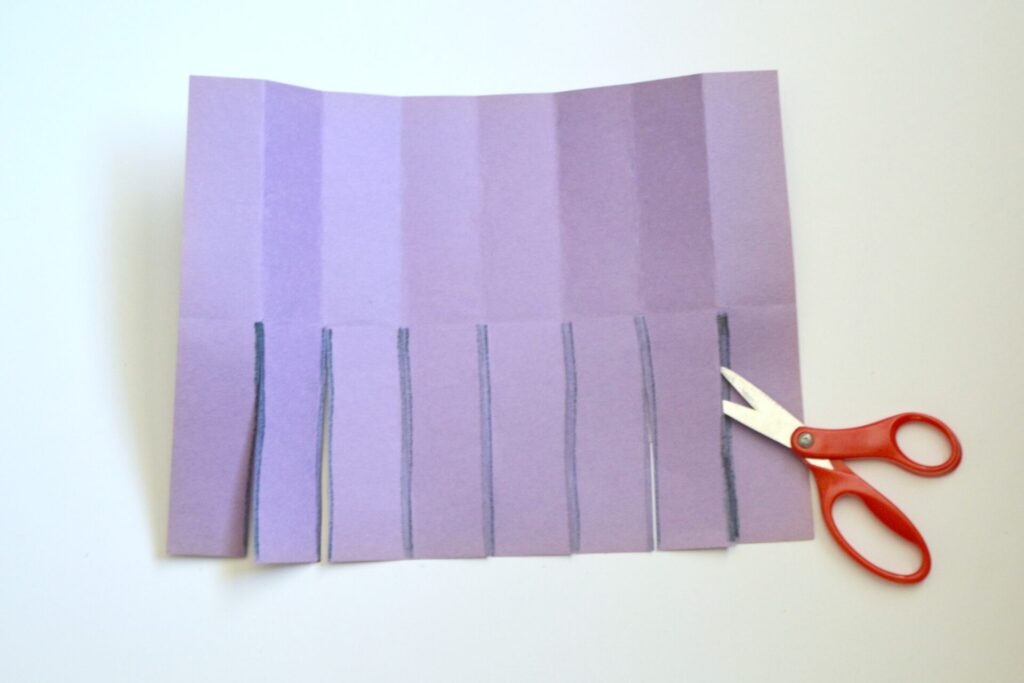
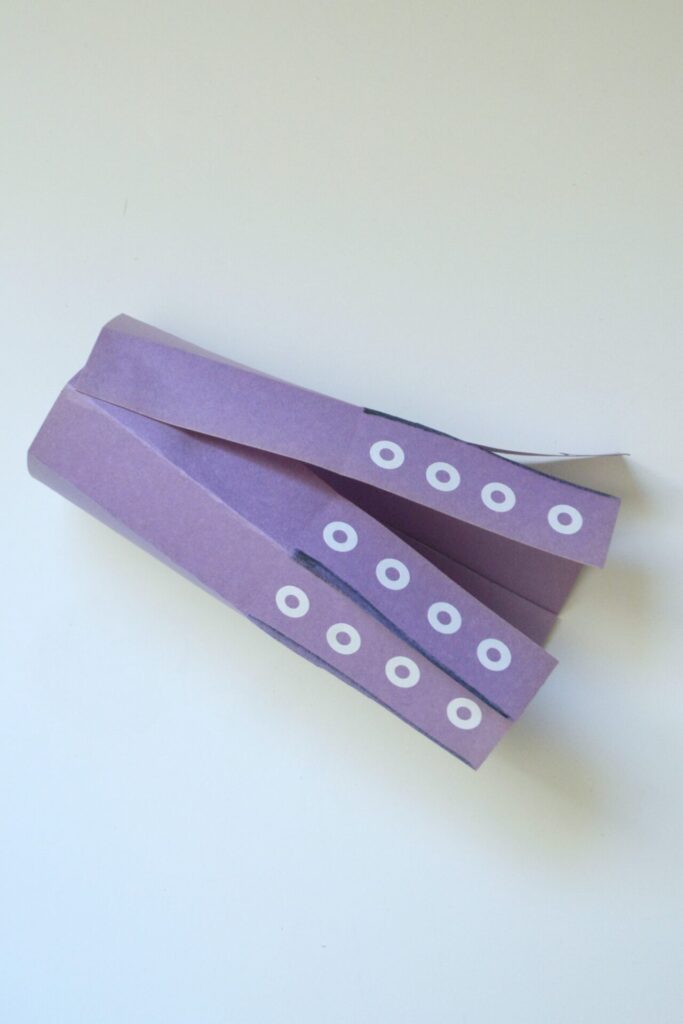
These drawn lines will be the cut lines for your child. To make the legs, cut along the lines on the long side of the paper, making sure to stop when the line ends.
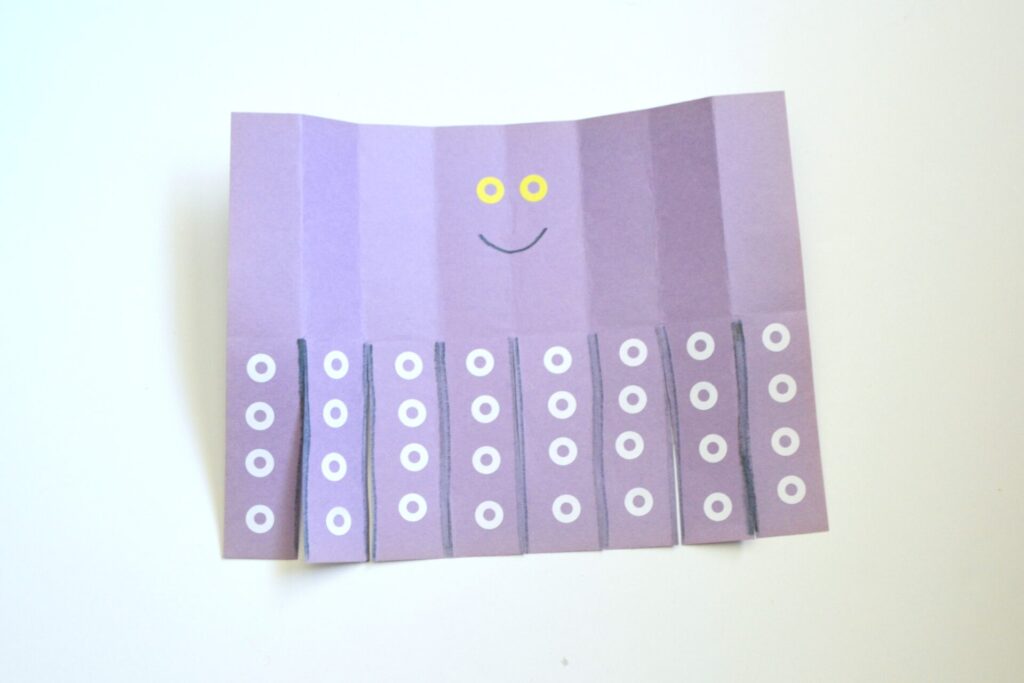
Then, add hole punch reinforcement stickers along the 8 legs for the octopus suckers, and add two towards the top and middle of the paper for the eyes.
Next, roll the paper into a tube, and glue or staple the top section for the head/body, leaving the legs unglued or stapled.
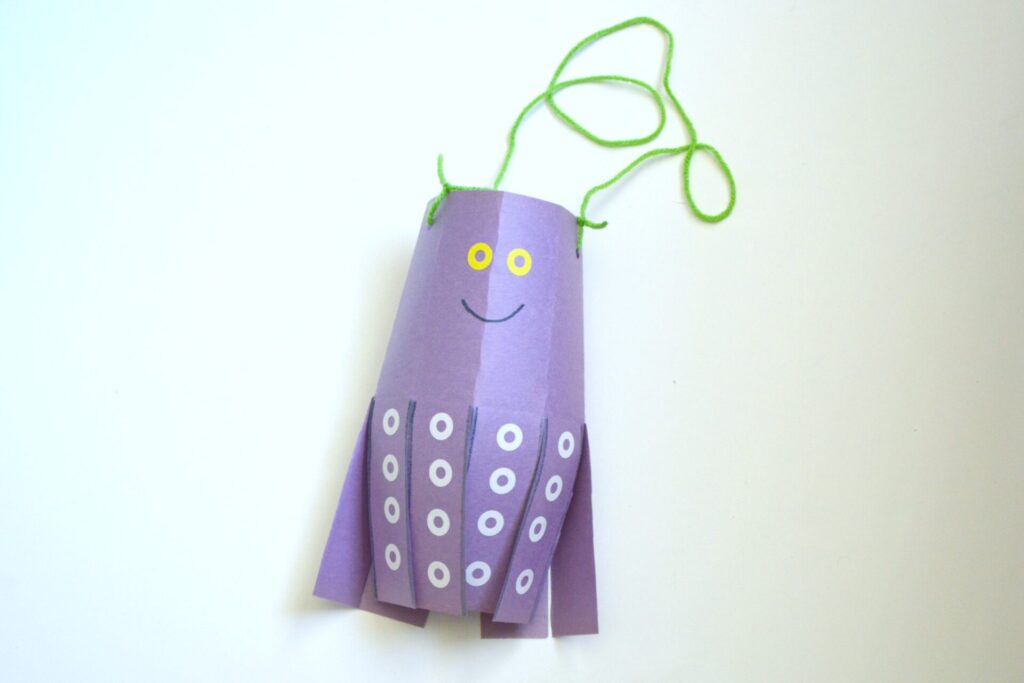
Finally, punch a hole on either side of the head, tie a piece of yarn through each hole and hang octopus up by the yarn loop you just made.
There you have a simple windsock octopus. Happy crafting!
Looking for some great ocean-themed stories to read together? Click here for a list of my favorites.
